Smartphone Astrophotography : a comprehensive guide!
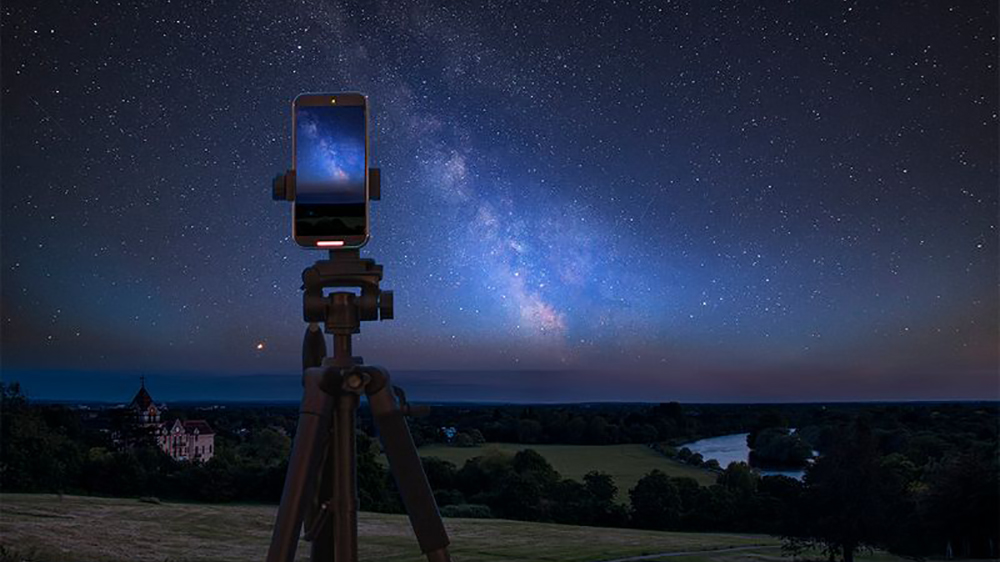
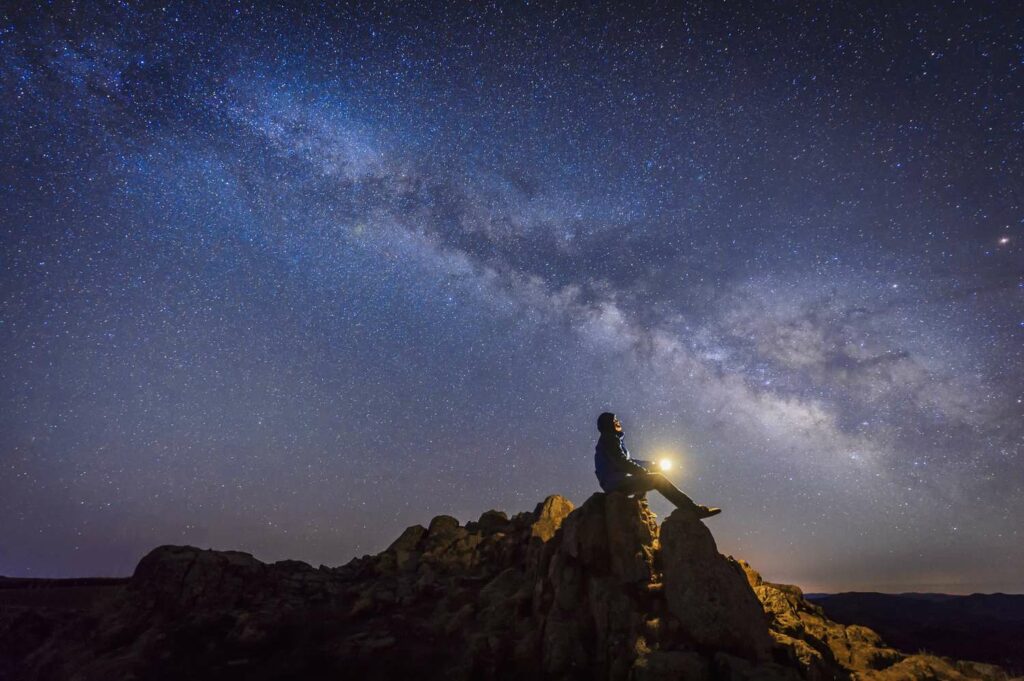
A tripod and dark skies are an amazing combo to do astrophotography with a smartphone! Credit : Getty Images
🤔 Why do astrophotography with a smartphone?
Capturing the stars with your smartphone is a fantastic way to explore astrophotography. Smartphones are always within reach and offer a convenient, cost-effective way to photograph the night sky. By leveraging your phone’s camera and various apps, you can create impressive star images without needing expensive gear. This guide will help you get started, from understanding the basics to editing your photos and exploring advanced techniques.
📚 Basics of smartphone astrophotography : what you need to know
Astrophotography boils down to one key principle: capturing as much light as possible. Celestial objects appear faint because they emit very little light by the time it reaches Earth. To enhance their visibility, astrophotographers use tools and techniques designed to gather more light. This includes using tracking mounts for longer exposures and large telescopes to collect more of those precious photons. Rest assured, we won’t use all this fancy equipment in this guide!
You can think of your camera as a bucket, and the faint light we’re trying to capture as rain. We can’t increase the size of the bucket or the intensity of the rain, so to capture a lot of rain, we have to keep the bucket outside for a long time. The same principle applies to smartphone astrophotography! The longer you expose your camera, the more light it will capture. The only setting we’ll change to capture as much light as possible is the exposure time.
🌌 Best places and time to shoot the stars for smartphone astrophotography
Light pollution from cities can wash out the faint light from stars, making it difficult to capture clear images. For the best results, seek dark-sky locations away from artificial lights. Rural areas, national parks, and dark-sky reserves provide the clear, dark skies needed to capture detailed photos of the night sky. If you don’t have access to those amazing skies, simply going out of the city in a calm place a few kilometers away from the light pollution will drastically improve your results! The Milky Way, our galaxy, is best photographed from dark locations during the summer, the only time of the year when it’s visible above the horizon.
To help you find the best skies, you can find a light pollution map right here.
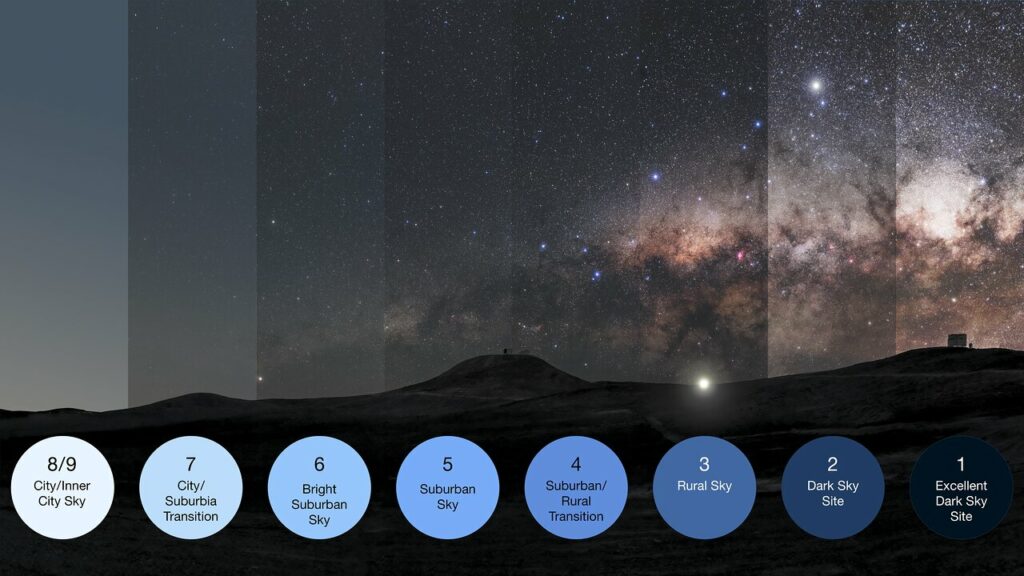
The Bortle scale help you understand how dark your sky is. Bortle 1 is the best there is! Credit : ESO
⏱️ The 500 rule : Essential tips for photographing the stars with your smartphone
Star trails occur when stars appear as streaks rather than points in your photos. This happens when the camera’s exposure time is too long, causing the stars to move across the frame while the photo is being taken. To avoid star trails and capture sharp, clear images, it’s crucial to limit your exposure time.
The 500 Rule helps you calculate the maximum exposure time to prevent star trails. Simply divide 500 by the focal length (the ‘zoom’, that you can find online) of your camera lens. For instance, if your smartphone lens has a focal length of 25mm (like most smartphones), the calculation would be 500 / 25 = 20 seconds. This means that, ideally, your exposure should not exceed 20 seconds.
However, with a smartphone, it’s often acceptable to extend the exposure up to 30 seconds without noticeable trails due to its lower focal length and the small size of the sensor. This extra time allows you to capture more light without significant star trailing, and is generally a good trade-off when approaching astrophotography with a smartphone. You can always reduce your exposure time a bit if you deem the star trails too visible.
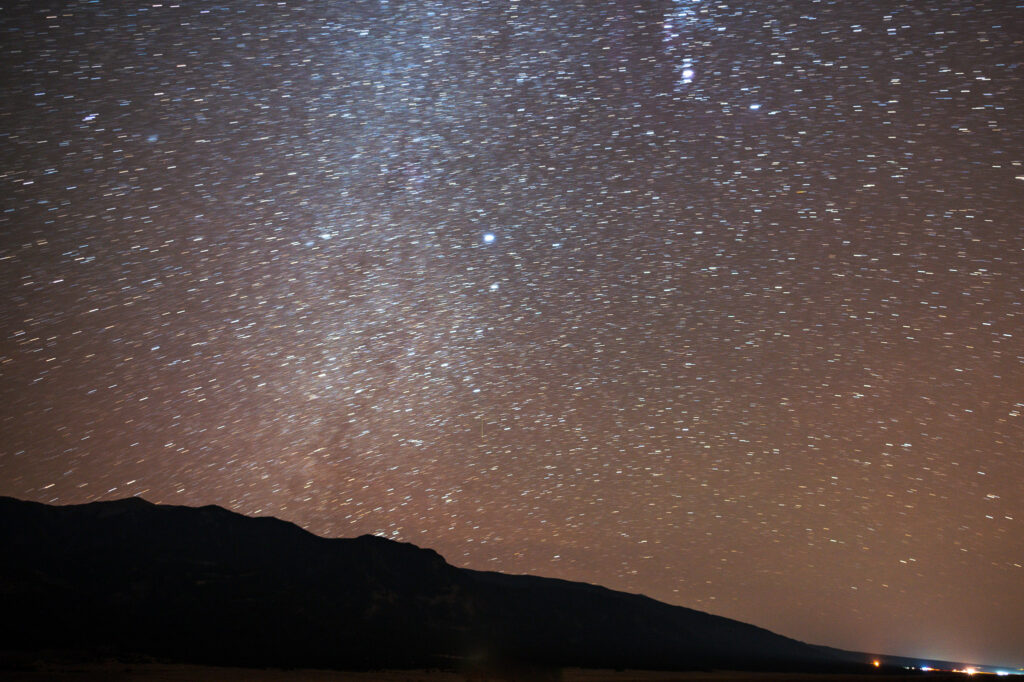
Don’t expose for too long or your smartphone astrophotography image will be blurry! Credit : Photographylife
📱 Astrophotography with an iPhone: Tips to capture stunning star photos!
Photographing the stars with your iPhone can yield impressive results with the right settings and techniques. Start by enabling Night Mode, which automatically adjusts your camera settings for low-light conditions, helping you capture more detail in your night sky photos.
To get the best results:
- Use Night Mode: Night Mode activates automatically in low-light conditions, but you can manually adjust the exposure time by tapping the Night Mode icon and sliding the dial to set the desired duration, up to 30 seconds.
- Access Manual Controls: For more control, consider using third-party apps like NightCap Camera or, if you have $20 burning a hole in your pocket, ProCamera. These apps provide manual settings for ISO, shutter speed, and focus. Open the app, navigate to the manual or pro mode, and set the exposure time to around 30 seconds. Adjust the ISO to a low setting (e.g., 800) to reduce noise and improve image quality.
- Stabilize Your iPhone: Use a tripod or a stable surface to keep your iPhone steady during the long exposure to avoid camera shake and blurry images.
By combining Night Mode with manual settings and a stable setup, you can capture stunning star photos with your iPhone.
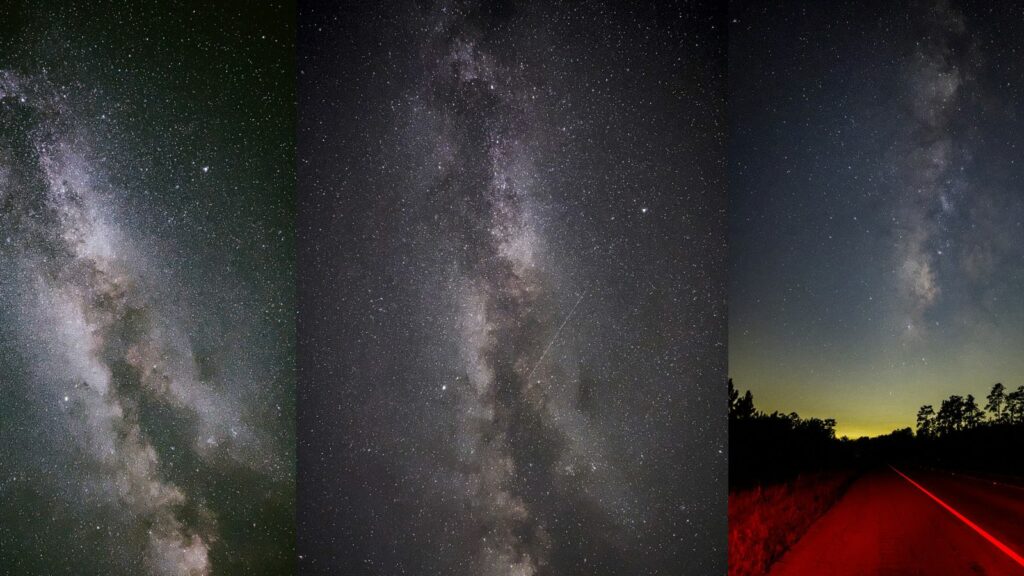
iPhone Astrophotography can yield impressive results after processing! Credit : MacRumors
📱 Astrophotography with an Android Device : how to capture the stars!
Capturing the stars with an Android device is similar to using an iPhone, with a few device-specific tweaks. Here’s how you can achieve stunning star photos:
- Use Night Mode: Many Android phones have a Night Mode or Low-Light Mode that automatically adjusts settings for better performance in dark conditions. Enable this mode through your camera app to start capturing detailed night sky images.
- Access Manual Controls: For greater control over your shot, your can use apps like ProCam X or Camera FV-5. Usually though, you can adjust the focus, ISO and exposure time directly in your camera’s manual mode.
- Open the camera app and switch to Manual Mode.
- Set the exposure time to around 30 seconds.
- Adjust the ISO setting to a low value (e.g., 800) to reduce noise and capture clearer images.
- Stabilize Your Android Device: To avoid camera shake and ensure sharp photos, use a tripod or a stable surface. This is crucial for long exposures, which are necessary for capturing faint stars and details.
By utilizing your Android device’s Night Mode and manual settings through specialized apps, you can effectively capture and enjoy the beauty of the night sky.
The Google Pixel is one of the best smartphone for astrophotography thanks to its amazing software! Credit : Lifewire
🧑💻 Editing your photos : Enhancing Smartphone Astrophotography Images
Editing is a crucial step in astrophotography, allowing you to refine and enhance the photos you capture with your smartphone. Here’s a quick guide to improving your star photos through editing:
- Adjust Brightness and Contrast: Start by increasing the brightness to bring out faint details in your star photos. Adjust the contrast to make the stars stand out more against the dark sky. Most photo editing apps, like Snapseed or Adobe Lightroom Mobile, offer easy-to-use tools for these adjustments. If you’re comfortable with more advanced softwares like Adobe Photoshop, you will get even better results!
- Reduce Noise: Noise can be an issue in low-light photos. Use the noise reduction features available in apps like Adobe Lightroom Mobile to smooth out grainy areas while preserving details. Be careful not to overdo it, as excessive noise reduction can blur fine details.
- Enhance Colors: Boost the saturation and vibrancy to make the colors of the night sky and stars more vivid. This can help highlight the Milky Way or other celestial features in your photos.
- Crop and Straighten: Crop your image to remove any distracting elements or to focus on specific areas of interest. Straighten the horizon if needed to ensure your stars are aligned correctly.
- Apply Filters: Some apps offer filters designed specifically for night sky photography. Experiment with these to enhance the overall look of your image, but use them sparingly to maintain a natural appearance.
By applying these editing techniques, you can transform your raw star photos into stunning images that highlight the beauty of the night sky. With practice, you’ll become adept at enhancing your smartphone astrophotography results and showcasing your night sky captures in their best light!
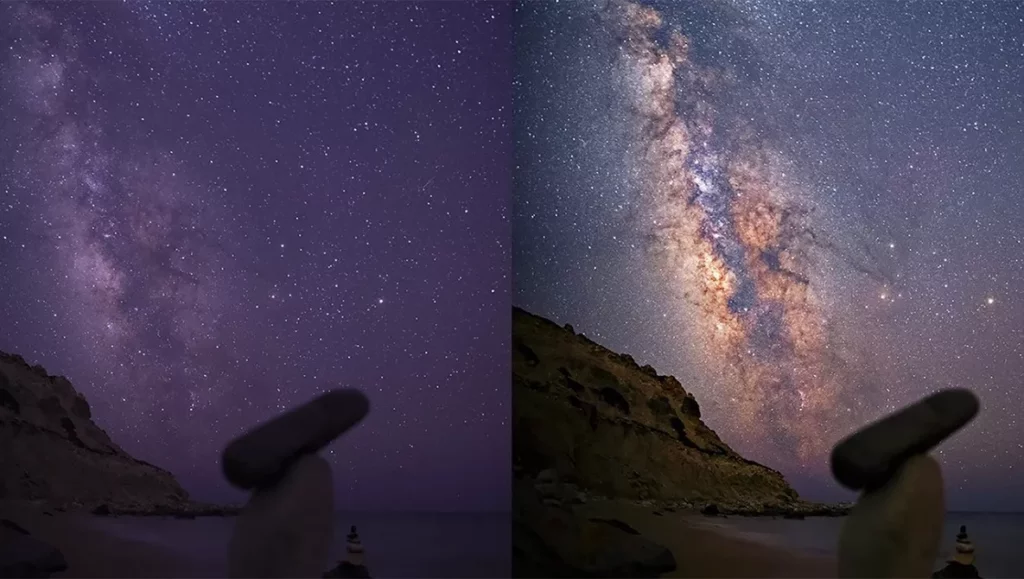
Processing is key in bringing out the lights and details in your astrophotography shot! Credit : Fstoppers
🚀 Going Further: Advanced Techniques and Upgrading Your Astrophotography
Once you’ve mastered the basics of smartphone astrophotography, you might want to explore more advanced techniques and tools to take your images to the next level. Here are some ways to enhance your star photos further:
- Image Stacking with Sequator: Stacking multiple images can significantly improve the quality of your astrophotography. Simple softwares like Sequator allows you to combine several photos taken with your smartphone to reduce noise and enhance detail. By aligning and averaging multiple exposures, you can achieve clearer, more detailed star images. Simply load your images into Sequator, follow the alignment process, and the software will merge them into a single, high-quality photo.
- Using Advanced Software: For more precise editing and enhancement, consider using advanced software like Adobe Photoshop. Photoshop offers powerful tools for adjusting exposure, reducing noise, and refining details. You can also use layers and masks to selectively enhance different parts of your image, such as brightening the Milky Way or adjusting the colors of specific stars.
- Upgrading to a DSLR Camera: If you want to capture even more light and detail, upgrading to a DSLR camera can be a game-changer. DSLRs offer larger sensors and more manual control over settings compared to smartphones. With a DSLR, you can use longer exposures, higher-quality lenses, and specialized astrophotography techniques to capture more light from faint celestial objects.
By incorporating these advanced techniques and tools, you can achieve even more impressive results in your astrophotography. Whether you’re stacking images for improved clarity, using sophisticated software for detailed editing, or upgrading to a DSLR for enhanced light capture, these steps will help you capture the night sky in all its stunning detail.
How a Bahtinov Mask Works
How a Bahtinov Mask works!A Bahtinov Mask helps you get perfect, pinpoint stars no matter the conditions!🤔 What is a Bahtinov Mask?Bahtinov masks...
